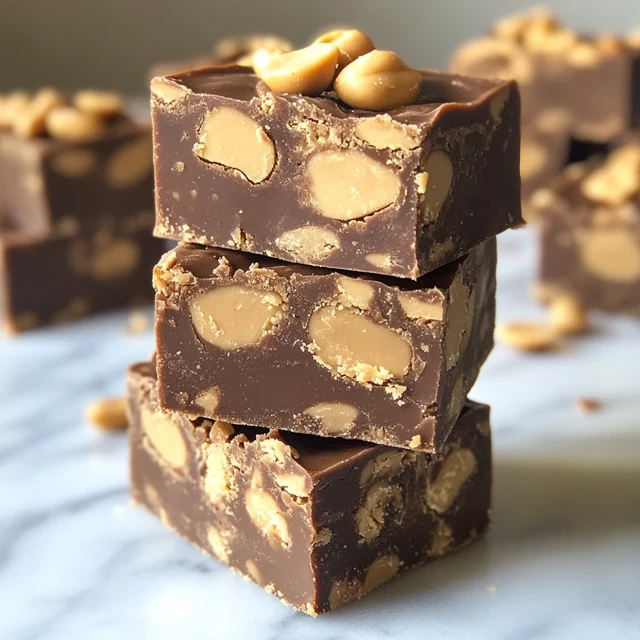
Did you know one batch of peanut butter fudge makes 24 servings? It’s a holiday favorite that turns simple ingredients into a sweet treat.
Peanut butter fudge is more than a sweet treat. It’s a journey that connects generations with its smooth texture and comforting taste. Whether you’re an experienced baker or new to the kitchen, making perfect peanut butter fudge is a fun adventure.
Imagine making a dessert with just two main ingredients and little cooking time. With only 2 minutes of prep and some chilling, you can make a treat that will wow everyone.
Key Takeaways
- Peanut butter fudge offers a quick and delicious dessert option
- Minimal ingredients required for maximum flavor
- Perfect for holiday gatherings and gift-giving
- Suitable for bakers of all skill levels
- Versatile recipe with potential flavor variations
Introduction to Peanut Butter Fudg
A vintage kitchen counter showcasing a plate of homemade peanut butter fudge with a rich, creamy texture. In the background, an open cookbook reveals historic recipes and notes, hinting at the long-standing tradition of this beloved confection. Soft, warm lighting casts a nostalgic glow, evoking a sense of timeless comfort and craftsmanship. The scene is framed by classic kitchen elements like wooden shelves and ceramic jars, creating a cozy, inviting atmosphere that celebrates the enduring legacy of peanut butter fudge.
Peanut butter fudge is a sweet journey through American food history. It comes from the country’s rich farming past. Peanuts were first grown in South America around 950 B.C. They made their way to America through many historical paths.
The tale of peanut fudge starts with important farming steps. Peanuts were grown in North Carolina by 1818 and later in Virginia in the 1840s. A big moment was in 1904 when peanut butter was shown at the St. Louis World Fair. It sold over $700 worth.
- Peanut cultivation in early American agriculture
- George Washington Carver’s groundbreaking research
- Commercial development of peanut products
George Washington Carver found almost 300 uses for peanuts. His work made peanut treats, like peanut butter fudge, very popular.
| Year | Peanut Milestone |
|---|---|
| 1818 | First commercial peanut cultivation in North Carolina |
| 1904 | Peanut butter introduced at St. Louis World Fair |
| 1908 | Krema Products Company begins selling peanut butter |
The story of peanut butter fudge is more than a tasty treat. It shows America’s love for food, farming, and making treats that unite people.
Essential Ingredients for Perfect Peanut Butter Fudge
Making tasty homemade peanut butter sweets needs the right ingredients. The perfect mix can make your rich peanut butter desserts stand out.
Selecting the Perfect Peanut Butter
Choosing the right peanut butter is key for great fudge. Here are some options:
- Smooth peanut butter for creamy texture
- Crunchy peanut butter for added texture
- Natural peanut butter for authentic flavor
- Processed peanut butter for consistent results
A still life arrangement showcasing an assortment of peanut butter varieties on a rustic wooden table. In the foreground, various jars and containers of smooth, crunchy, and flavored peanut butters are displayed, their labels clearly visible. The middle ground features an open jar with a spoon, highlighting the rich, creamy texture of the peanut butter. In the background, a soft, diffused lighting creates a warm and inviting atmosphere, complementing the earthy tones of the wood surface. The composition emphasizes the versatility and quality of the peanut butter ingredients essential for crafting the perfect peanut butter fudge.
Sweeteners and Dairy Components
The sweetness and richness of your fudge depend on quality ingredients. Here are some top picks:
| Ingredient | Recommended Quantity | Purpose |
|---|---|---|
| Sweetened Condensed Milk | 14 oz can | Provides creamy sweetness |
| Chocolate Chips | 2 cups | Adds depth of flavor |
| Powdered Sugar | 4 cups | Ensures smooth consistency |
Optional Add-ins and Variations
Make your homemade peanut butter sweets even better with these ideas:
- Crushed pretzels for salty crunch
- Dark chocolate chips for intense flavor
- Sea salt sprinkle for gourmet touch
- Chopped nuts for extra texture
Pro tip: Use JIF or Skippy brands for consistent results in your rich peanut butter desserts.
Kitchen Tools and Equipment Needed
To make delicious decadent peanut butter candy, you need the right kitchen tools. These tools help make your gourmet peanut butter fudge perfect. They make the candy-making process easier and more fun.
Here are the essential tools you’ll need for crafting your sweet masterpiece:
- Candy Thermometer: Crucial for precise temperature monitoring
- Heavy-bottomed saucepan with thick base
- Large mixing bowls
- Silicone spatula
- 9×9 inch baking dish
- Parchment paper
- Sharp knife for cutting
Your candy thermometer is key to getting the right fudge texture. Place the probe at least 1/2 inch from the pan’s bottom for accurate readings.
| Tool | Purpose | Recommended Type |
|---|---|---|
| Candy Thermometer | Temperature tracking | Digital or analog with clip |
| Saucepan | Ingredient melting | Heavy aluminum or stainless steel |
| Baking Dish | Fudge setting | 9×9 inch with straight sides |
Pro tip: Invest in quality tools to elevate your decadent peanut butter candy experience. The right equipment turns your kitchen into a professional confectionery workspace.
Step-by-Step Recipe Instructions
Making delicious peanut butter fudge needs precision and care. This guide will help you make creamy treats that will please your taste buds.
Preparing Your Workspace
Before starting, gather all ingredients and tools. A clean, organized space makes preparation easier.
- Line an 8×8 inch baking pan with parchment paper
- Measure ingredients precisely
- Set out a medium saucepan and wooden spoon
- Have a candy thermometer ready
Mixing and Cooking Process
The secret to perfect peanut butter fudge is careful mixing and temperature control. Follow these steps for a smooth, creamy result:
- Melt butter and peanut butter together over low heat
- Stir continuously to prevent burning
- Remove from heat when fully combined
- Gradually add powdered sugar
- Mix until smooth and glossy
Setting and Cooling Techniques
Proper cooling turns your mixture into delicious peanut butter fudge. Patience is key during this stage.
| Cooling Method | Time Required | Result |
|---|---|---|
| Refrigerator | 2 hours | Firm, perfect texture |
| Room Temperature | 4 hours | Slower setting, softer texture |
Pro tip: Cut fudge into 1×1 inch squares for ideal serving size. Store in an airtight container to keep it fresh.
Stovetop vs. Microwave Methods
Choosing the right cooking method is key to making perfect nutty fudge delight. You can make peanut butter fudge two ways: stovetop or microwave. Each method has its own benefits for making tasty peanut treats.
Stovetop Method Advantages
- Provides more precise temperature control
- Allows for gradual heating and better ingredient integration
- Recommended for experienced home cooks
- Preparation time takes approximately 5-7 minutes
Microwave Method Benefits
- Faster preparation (around 3-4 minutes)
- Requires minimal kitchen equipment
- Perfect for beginners and quick dessert preparation
- Less risk of burning ingredients
| Cooking Method | Preparation Time | Skill Level | Temperature Control |
|---|---|---|---|
| Stovetop | 5-7 minutes | Intermediate to Advanced | Precise (234-236°F) |
| Microwave | 3-4 minutes | Beginner to Intermediate | Less Precise |
Think about your cooking skills and how much time you have. The stovetop method gives you more control but needs more attention. The microwave is quicker and easier for beginners.
No matter your choice, keep the temperature steady and mix ingredients well. This way, you’ll make smooth, creamy peanut treats that everyone will love.
Tips for Achieving the Perfect Texture
Making smooth homemade peanut butter sweets needs precision and knowing key texture techniques. Rich peanut butter desserts require careful attention to detail. The right steps can turn your fudge from grainy to creamy.
Common Texture Challenges
Fudge lovers often face texture issues:
- Grainy surface
- Too soft consistency
- Crystallization
- Hard, brittle texture
Professional Solutions for Smooth Fudge
Professional bakers suggest certain techniques for silky homemade peanut butter sweets:
- Don’t stir during the initial cooking
- Use a candy thermometer for accuracy
- Cool the mixture without moving it
- Beat it at the right temperature
Temperature Control Guidelines
Mastering temperature is key for rich peanut butter desserts. The right heat ensures perfect texture every time.
| Stage | Temperature Range | Ideal Outcome |
|---|---|---|
| Cooking | 234°F – 237°F | Smooth consistency |
| Cooling | 110°F | Best beating temperature |
| Beating | 5-10 minutes | Creamy texture |
Pro tip: Always use a reliable candy thermometer. For high-altitude cooking, lower the temperature 2°F for every 1,000 feet.
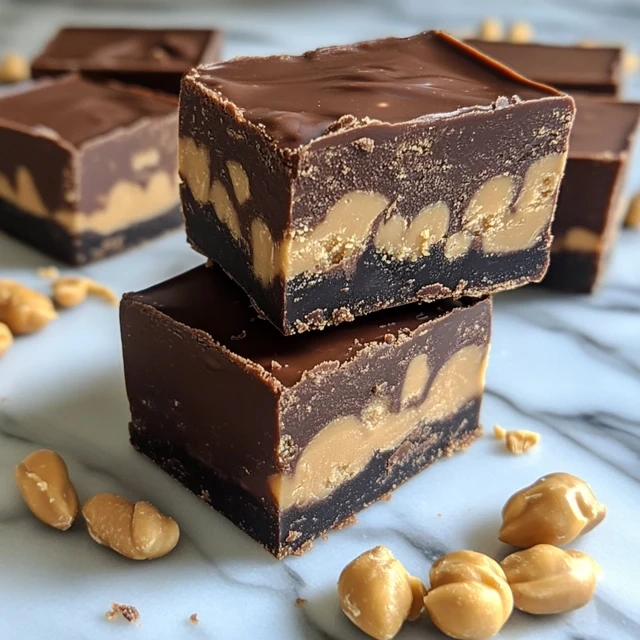
Creative Variations and Add-ins
Make your decadent peanut butter candy even better by trying new things. Fudge is super versatile, so you can play with flavors and textures. This way, you can make it just how you like it.
- Chocolate Lovers: Swirl in dark, milk, or white chocolate chips
- Nutty Crunch: Sprinkle chopped peanuts, almonds, or pecans
- Sweet Surprises: Mix in mini marshmallows or crushed graham crackers
- Flavor Boosters: Add a dash of sea salt or vanilla extract
Looking for something new? Try these unique flavor mixes:
| Flavor Variation | Key Ingredients | Taste Profile |
|---|---|---|
| Salted Caramel | Caramel swirls, sea salt | Sweet and salty |
| Chocolate Peanut Butter | Chocolate chips, cocoa powder | Rich and indulgent |
| Pretzel Crunch | Crushed pretzels, chocolate drizzle | Crunchy and sweet |
Don’t be afraid to get creative with your fudge. Try out different mixes and find your own special recipe. You’ll make everyone happy with your unique decadent peanut butter candy!
Storage and Preservation Methods
Keeping your peanut butter fudge fresh is key. The right storage methods help keep it tasty and smooth. This way, you can enjoy it for a long time.
Room Temperature Storage
Here’s how to store peanut butter fudge at room temperature:
- Use an airtight container to prevent moisture exposure
- Store in a cool, dry place away from direct sunlight
- Place wax paper between fudge layers to prevent sticking
- Keep at room temperature for up to 1 week
Freezing Instructions
Freezing is a great way to keep your fudge for longer:
| Storage Method | Duration | Recommended Technique |
|---|---|---|
| Freezer Storage | Up to 3 months | Wrap individually in wax paper, then place in freezer-safe container |
| Refrigerator Storage | Up to 2 weeks | Store in sealed container with tight-fitting lid |
Thawing Guidelines
Thawing your fudge correctly is important:
- Remove fudge from freezer
- Transfer to refrigerator
- Allow to thaw overnight
- Bring to room temperature before serving
Pro tip: Always handle your creamy peanut butter treats with care to preserve their delightful texture and flavor!
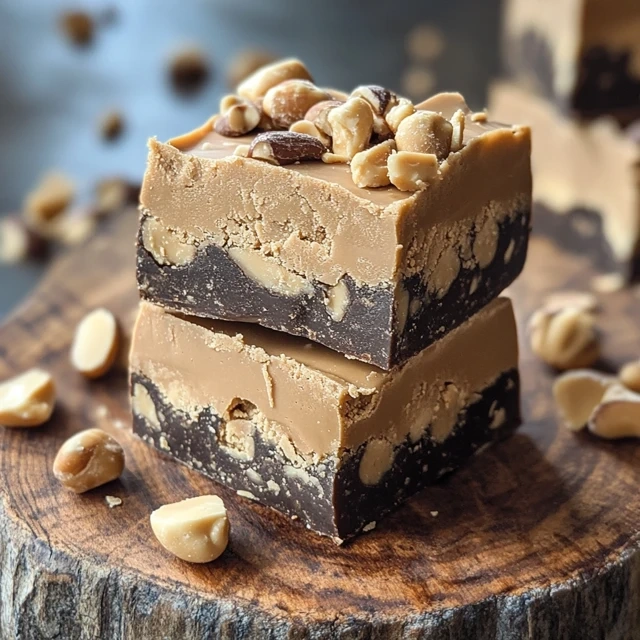
Gifting and Presentation Ideas
Turn your nutty fudge delight into a gift that will wow your friends and family. Making homemade peanut butter fudge into a gift needs creativity and care. Your treat should have packaging that’s as tasty as it is.
- Use decorative holiday-themed tins
- Package in clear cellophane bags with elegant ribbons
- Create custom gift baskets with multiple fudge varieties
- Utilize mini cupcake liners for individual servings
How you cut your fudge can make a big difference. Try to cut it into uniform 1-inch squares. This shows off the fudge’s rich texture. A sharp knife, dipped in hot water, makes clean cuts.
| Gift Packaging Option | Best For | Estimated Cost |
|---|---|---|
| Decorative Tin | Holiday Gifts | $3-$7 |
| Cellophane Bags | Party Favors | $0.50-$2 each |
| Gift Basket | Special Occasions | $10-$25 |
Pro tip: Your homemade fudge can be stored at room temperature in an airtight container for up to two weeks. This makes it great for preparing ahead of time. Your handcrafted peanut confections will be a hit with anyone who gets them.
Nutritional Information and Dietary Considerations
Explore the nutritional side of our rich peanut butter desserts. Each square of our homemade peanut butter fudge is packed with nutrients.
Knowing the nutritional profile helps you choose wisely. Let’s look at the key points:
- Calories per square: 157 kcal
- Protein: 4 g
- Total fat: 12 g
- Carbohydrates: 10 g
Peanut butter adds more than taste. It’s a nutritional powerhouse with important nutrients:
- Vitamin E for skin health
- Magnesium for muscle function
- Potassium for heart health
- Healthy fats
| Nutrient | Amount per Square |
|---|---|
| Saturated Fat | 4 g |
| Cholesterol | 2 mg |
| Sodium | 13 mg |
| Dietary Fiber | 1 g |
For those with dietary needs, this fudge is adaptable. It can be:
- Gluten-free
- Vegan-friendly
- Refined sugar-free
Enjoy your homemade peanut butter sweets with care. The natural sweeteners and peanut butter make for a balanced treat. It satisfies your sweet tooth and offers nutritional benefits.
Conclusion
Making decadent peanut butter candy at home is more than a recipe. It’s a fun journey in the kitchen. By learning how to make gourmet peanut butter fudge, you’ve opened up a world of sweet treats to share with others.
The magic of homemade fudge is in its ease and flexibility. With simple ingredients and a little time, you can turn everyday items into a special treat. Now, you can play with flavors and add-ins to make each batch your own.
Whether it’s for dessert, a gift, or a personal treat, your homemade peanut butter fudge is special. It connects you to home cooks through the ages. They’ve all turned simple ingredients into moments of happiness and tasty delights.
We encourage you to keep trying new things, experimenting with peanut butter fudge. Share your creations, learn from your mistakes, and keep the tradition alive in your kitchen.
Free Body Calculator – Know Your Body
Wondering if your body is in a healthy range? Use our Free Body Calculator to find out if you’re fit, normal, or need a lifestyle change. Get personalized tips, calorie targets, and your ideal protein, carbs, and fat intake – all in seconds.
Try Free Body Calculator Now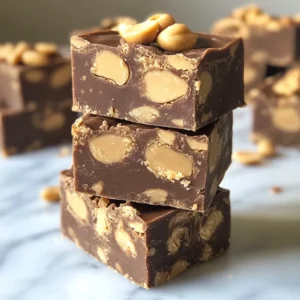
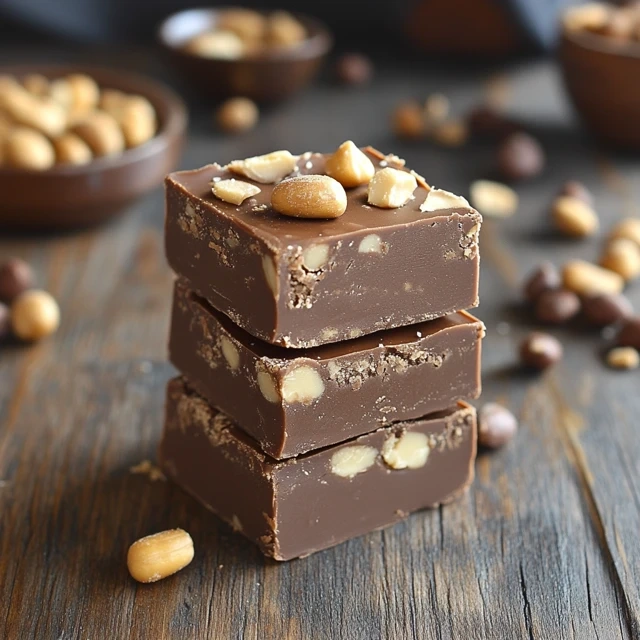
3 Ingredient Peanut Butter Fudge – Super Easy Recipe
Ingredients
- 1 cup unsalted butter
- 1 cup creamy peanut butter
- 1 tsp vanilla extract
- ¼ tsp salt
- 3½ cups powdered sugar
- Optional Toppings:
- ½ cup chocolate chips for drizzle
- ¼ cup chopped peanuts for crunch

Instructions
- Prepare the Pan:
- Line an 8×8-inch baking pan with parchment paper, leaving some overhang for easy removal.
- Melt And Mix:
- In a medium saucepan, melt butter over low heat.
- Stir in peanut butter until smooth and combined.
- Remove from heat and mix in vanilla extract & salt.
- Add the Sugar:
- Gradually stir in powdered sugar, mixing until smooth. The mixture will thicken quickly.
- Set And Chill:
- Spread the fudge evenly into the prepared pan.
- (Optional) Drizzle melted chocolate chips and sprinkle chopped peanuts on top.
- Refrigerate for at least 2 hours, or until firm.
- Slice And Serve:
- Lift the fudge out using the parchment paper, slice into squares, and enjoy!
Notes
- Creamy or Crunchy? Use crunchy peanut butter for added texture!
- Dairy-Free? Swap butter for coconut oil.
- Shelf Life: Store in an airtight container in the fridge for up to 2 weeks or freeze for up to 3 months.
1 thought on “3 Ingredient Peanut Butter Fudge – Super Easy Recipe”
Comments are closed.